You were just hitting your stride along the Bow River pathway, the Peace Bridge in sight, when you felt it—that familiar, dull ache around your kneecap. It’s the pain that signals the end of a good run and the start of a frustrating recovery.
If this sounds familiar, you’re not alone. Patellofemoral Pain Syndrome, better known as “Runner’s Knee,” is one of the most common ailments plaguing Calgary’s running community. But it doesn’t have to be a season-ending injury.
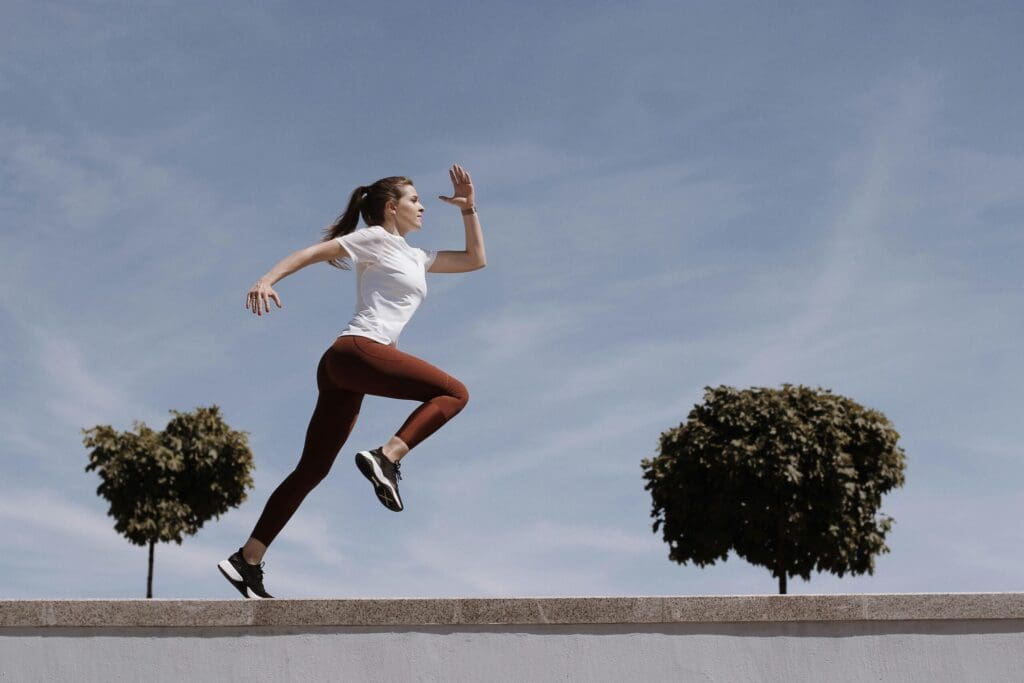
With the right approach, you can take control of your recovery and come back stronger. This is your 5-step, physio-approved plan to get back on the trails, pain-free.
Disclaimer: This guide is for informational purposes only. Always consult with a qualified healthcare professional for a proper diagnosis and personalized treatment plan.
First, How Do You Know if It’s Really Runner’s Knee?
While a professional diagnosis is always best, runner’s knee has a few tell-tale signs:
- A dull, aching pain at the front of the knee, around or behind the kneecap.
- Pain that gets worse when running, going down stairs, squatting, or after sitting for a long time (this is often called the “movie-goer’s sign”).
- You might hear some clicking or popping sounds when you bend and straighten your knee.
If this checklist sounds like what you’re experiencing, the following steps can help you start managing the symptoms.
The 5-Step Recovery Plan for Runner’s Knee
The key to beating runner’s knee isn’t complete rest—it’s strategic, active recovery.
Step 1: Relative Rest & Smart Pain Management
Forget about sitting on the couch for two weeks. “Relative rest” means you stop doing the activity that causes the pain (like running), but you keep moving in other ways. Gentle cycling or swimming are great options to maintain fitness without stressing the knee.
For immediate pain relief, apply an ice pack to the front of your knee for 15 minutes, 2-3 times a day, especially after any activity.
Step 2: Release the Tension (Foam Roll Key Areas)
Often, the problem isn’t the knee itself, but tightness in the muscles surrounding it. A foam roller is your best friend here. Spend 1-2 minutes rolling each of these areas on your affected leg:
- Quadriceps (Quads): The large muscles on the front of your thigh.
- IT Band: The thick band of tissue running along the outside of your thigh.
- Glutes: Your buttock muscles.
Pro-Tip: When you find a tender spot, pause on it for 20-30 seconds and take deep breaths. It might be uncomfortable, but it’s effective.
🔗 Need a good foam roller? We recommend this one for its density and durability.
Step 3: Strengthen Your Hips & Glutes
Weak hips are a primary cause of runner’s knee. When your glutes are weak, your knee tends to collapse inward when you run, putting stress on the kneecap. Focus on these two exercises daily:
- Clamshells: Lie on your side with your knees bent and feet together. Keeping your feet touching, lift your top knee towards the ceiling without rocking your torso back. Do 2 sets of 15-20 repetitions.
- Glute Bridges: Lie on your back with your knees bent and feet flat on the floor. Squeeze your glutes and lift your hips off the floor until your body forms a straight line from your shoulders to your knees. Hold for 2 seconds and lower slowly. Do 2 sets of 15 repetitions.
Step 4: Improve Your Quad Control
This isn’t about building huge quad muscles; it’s about teaching them to fire correctly to support the kneecap.
- Terminal Knee Extensions (TKEs): Loop a resistance band around a sturdy anchor point (like a table leg) and then loop the other end around the back of your sore knee. Step back until there’s tension. Keeping your heel on the ground, slowly bend your knee, then straighten it by squeezing your quad muscle. Do 2 sets of 20 slow and controlled repetitions.
🔗 A good set of resistance bands like these are essential for rehab.
Step 5: Check Your Running Form
Once the pain has subsided and you’re ready to try a short, easy run, think about your form. Two small tweaks can make a huge difference:
- Increase Your Cadence: Your cadence is the number of steps you take per minute. Most runners with knee pain have a slow, heavy cadence. Try to take lighter, quicker steps. Using a running app or watch to increase your cadence by 5-10% can dramatically reduce the impact on your knees.
- Avoid Overstriding: Don’t let your foot land way out in front of your body. Think about your foot landing underneath your hips. When Is It Time to See a Physio?
Home care is powerful, but sometimes you need a professional. It’s time to book an appointment if:
- The pain isn’t improving after 2-3 weeks of following these steps.
- The pain was caused by a specific, traumatic event.
- You are unable to bear weight on your leg.
A sports physiotherapist can provide a precise diagnosis, offer manual therapy to release stubborn tightness, and create a personalized strengthening program just for you.
Ready for an expert opinion? Browse our directory of top-rated Calgary sports physios.
Get Back on the Trails, Smarter and Stronger
Runner’s knee is a sign from your body that something is out of balance. By listening to it and addressing the root cause with these exercises, you won’t just get rid of the pain—you’ll become a more resilient and efficient runner.