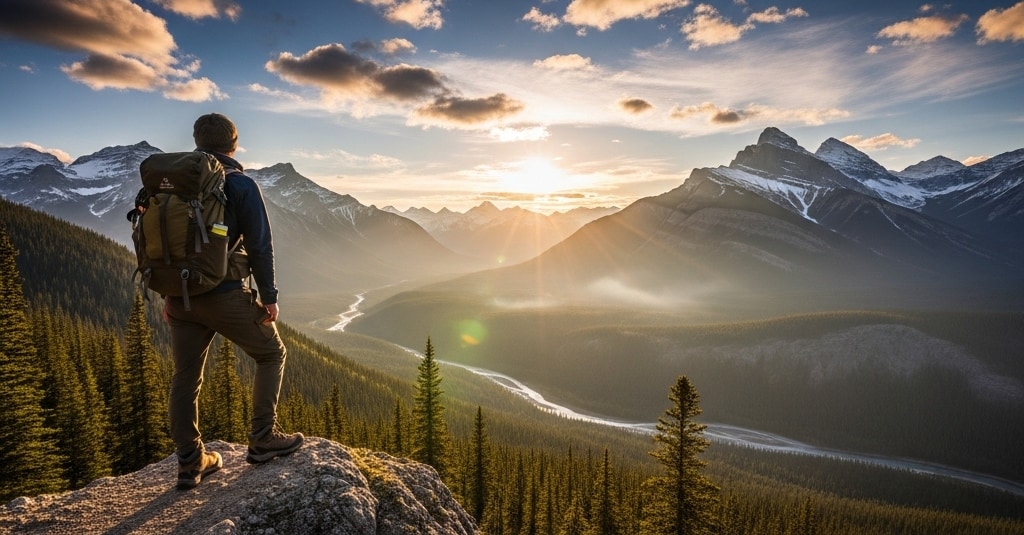
The sun is out, the mountains are calling, and you’re mapping out a weekend trip to Ha Ling Peak or Grassi Lakes. The gear is packed, the snacks are ready, but there’s a nagging thought in the back of your mind: the descent. The thought of that steep, rocky trail and the familiar ache in your knees or the wobble in your ankles is enough to make you second-guess the plan.
If you’ve ever cut a beautiful hike short because of joint pain, you’re not alone. The terrain around Calgary is spectacular, but it’s also demanding.
The good news is that with a little preparation, you can conquer those trails with confidence. These five physio-approved exercises are specifically designed to build the strength and stability you need to prevent the most common hiking injuries. Think of it as pre-hab for the trail.
Disclaimer: This guide is for informational purposes. Always consult with a qualified healthcare professional before starting a new exercise program, especially if you have an existing injury.
Why Mountain Trails are Tougher Than a Treadmill
Hiking in Kananaskis isn’t just “walking.” The unique demands of mountain trails put a different kind of stress on your body:
- Uphills: Require powerful glutes and quads to propel you forward.
- Downhills: Force your muscles to work eccentrically (while lengthening) to control your descent, putting immense stress on your knee joints and quad tendons.
- Uneven Ground: Constantly challenges the small stabilizing muscles around your ankles and hips to prevent twists and sprains.
This routine targets all three of these areas.
The 5 Essential Exercises for Pain-Free Hiking
Perform these exercises 2-3 times a week in the weeks leading up to a big hike.
1. Eccentric Heel Drops (For Ankle & Achilles Strength)
This exercise strengthens your calf muscles and Achilles tendon, which act as your body’s primary shock absorbers on the trail.
- How to do it: Stand on the edge of a step with your heels hanging off. Push up with both feet so you are on your tiptoes. Then, lift one foot off the step and very slowly lower the other heel down below the level of the step over 3-4 seconds. Repeat for 2 sets of 15 repetitions on each leg.
2. Forward Step-Downs (The #1 Knee Saver)
This is the most important exercise for preventing hiker’s knee. It directly trains your quad muscles to control your body’s momentum on descents, which is when most knee pain occurs.
- How to do it: Stand on a low step or a thick book. Keeping your hips level, slowly bend your standing leg and lower your other heel to gently tap the floor in front of you. Do not put weight on the tapping foot. The key is a slow, controlled movement. Squeeze your glute and quad to straighten back up. Aim for 2-3 sets of 10-12 repetitions per leg.
3. Single-Leg Glute Bridges (For Uphill Power)
Your glutes are your climbing engine. When they’re strong, they take the pressure off your lower back and knees. The single-leg version also adds a crucial stability challenge.
- How to do it: Lie on your back with your knees bent. Lift one leg off the floor, keeping the knee bent. Pushing through the heel of the foot that’s still on the ground, squeeze your glutes and lift your hips until your body forms a straight line from your shoulder to your knee. Lower slowly. Do 2 sets of 12-15 repetitions per side.

4. Banded Side Steps (For Hip Stability)
This exercise strengthens the muscles on the side of your hips (your gluteus medius), which are critical for keeping your pelvis level and stopping your knees from caving inward on uneven terrain.
- How to do it: Place a looped resistance band around your ankles. Get into a slight squat position with your feet shoulder-width apart. Maintaining tension on the band, take 15 slow, controlled steps to one side, then 15 steps back to the start. That’s one set. Do 2-3 sets.
This set of fabric resistance bands is perfect for these exercises.
5. Trekking Pole Wall Presses (For Upper Body Support)
Trekking poles can reduce the compressive force on your knees by up to 25%, but only if you use them correctly by actively pushing down. This exercise teaches you how.
- How to do it: Stand facing a wall, about two feet away. Hold your trekking poles and place the tips on the wall at chest height. Lean forward slightly and press into the poles, feeling the muscles in your back and arms engage, taking the weight off your legs. Hold the press for 10 seconds. Relax and repeat 5-8 times.
Looking for poles? These adjustable trekking poles offer great support.
Your Pre-Hike Warm-Up at the Trailhead
Don’t start a steep trail with cold muscles. Before you leave the car park, spend two minutes doing this:
- Leg Swings: 15 forward-and-back swings per leg.
- Side-to-Side Swings: 15 side-to-side swings per leg.
- Ankle Circles: 10 circles in each direction, per ankle.
Hike with Confidence, Not Pain
By investing a little time in preparation, you’re not just preventing injury—you’re ensuring you can fully enjoy the incredible views and experiences our nearby mountains have to offer.
If pain is already stopping you, find a local Calgary physio who specializes in sports injuries.